3D printable VESA mount for common DRO mounting arms
VESA-Mount-for-DRO-Arm
100mm x 100mm VESA mount for common DRO mounting arms that have a 10mm mounting hole through a 20mm thick bar.
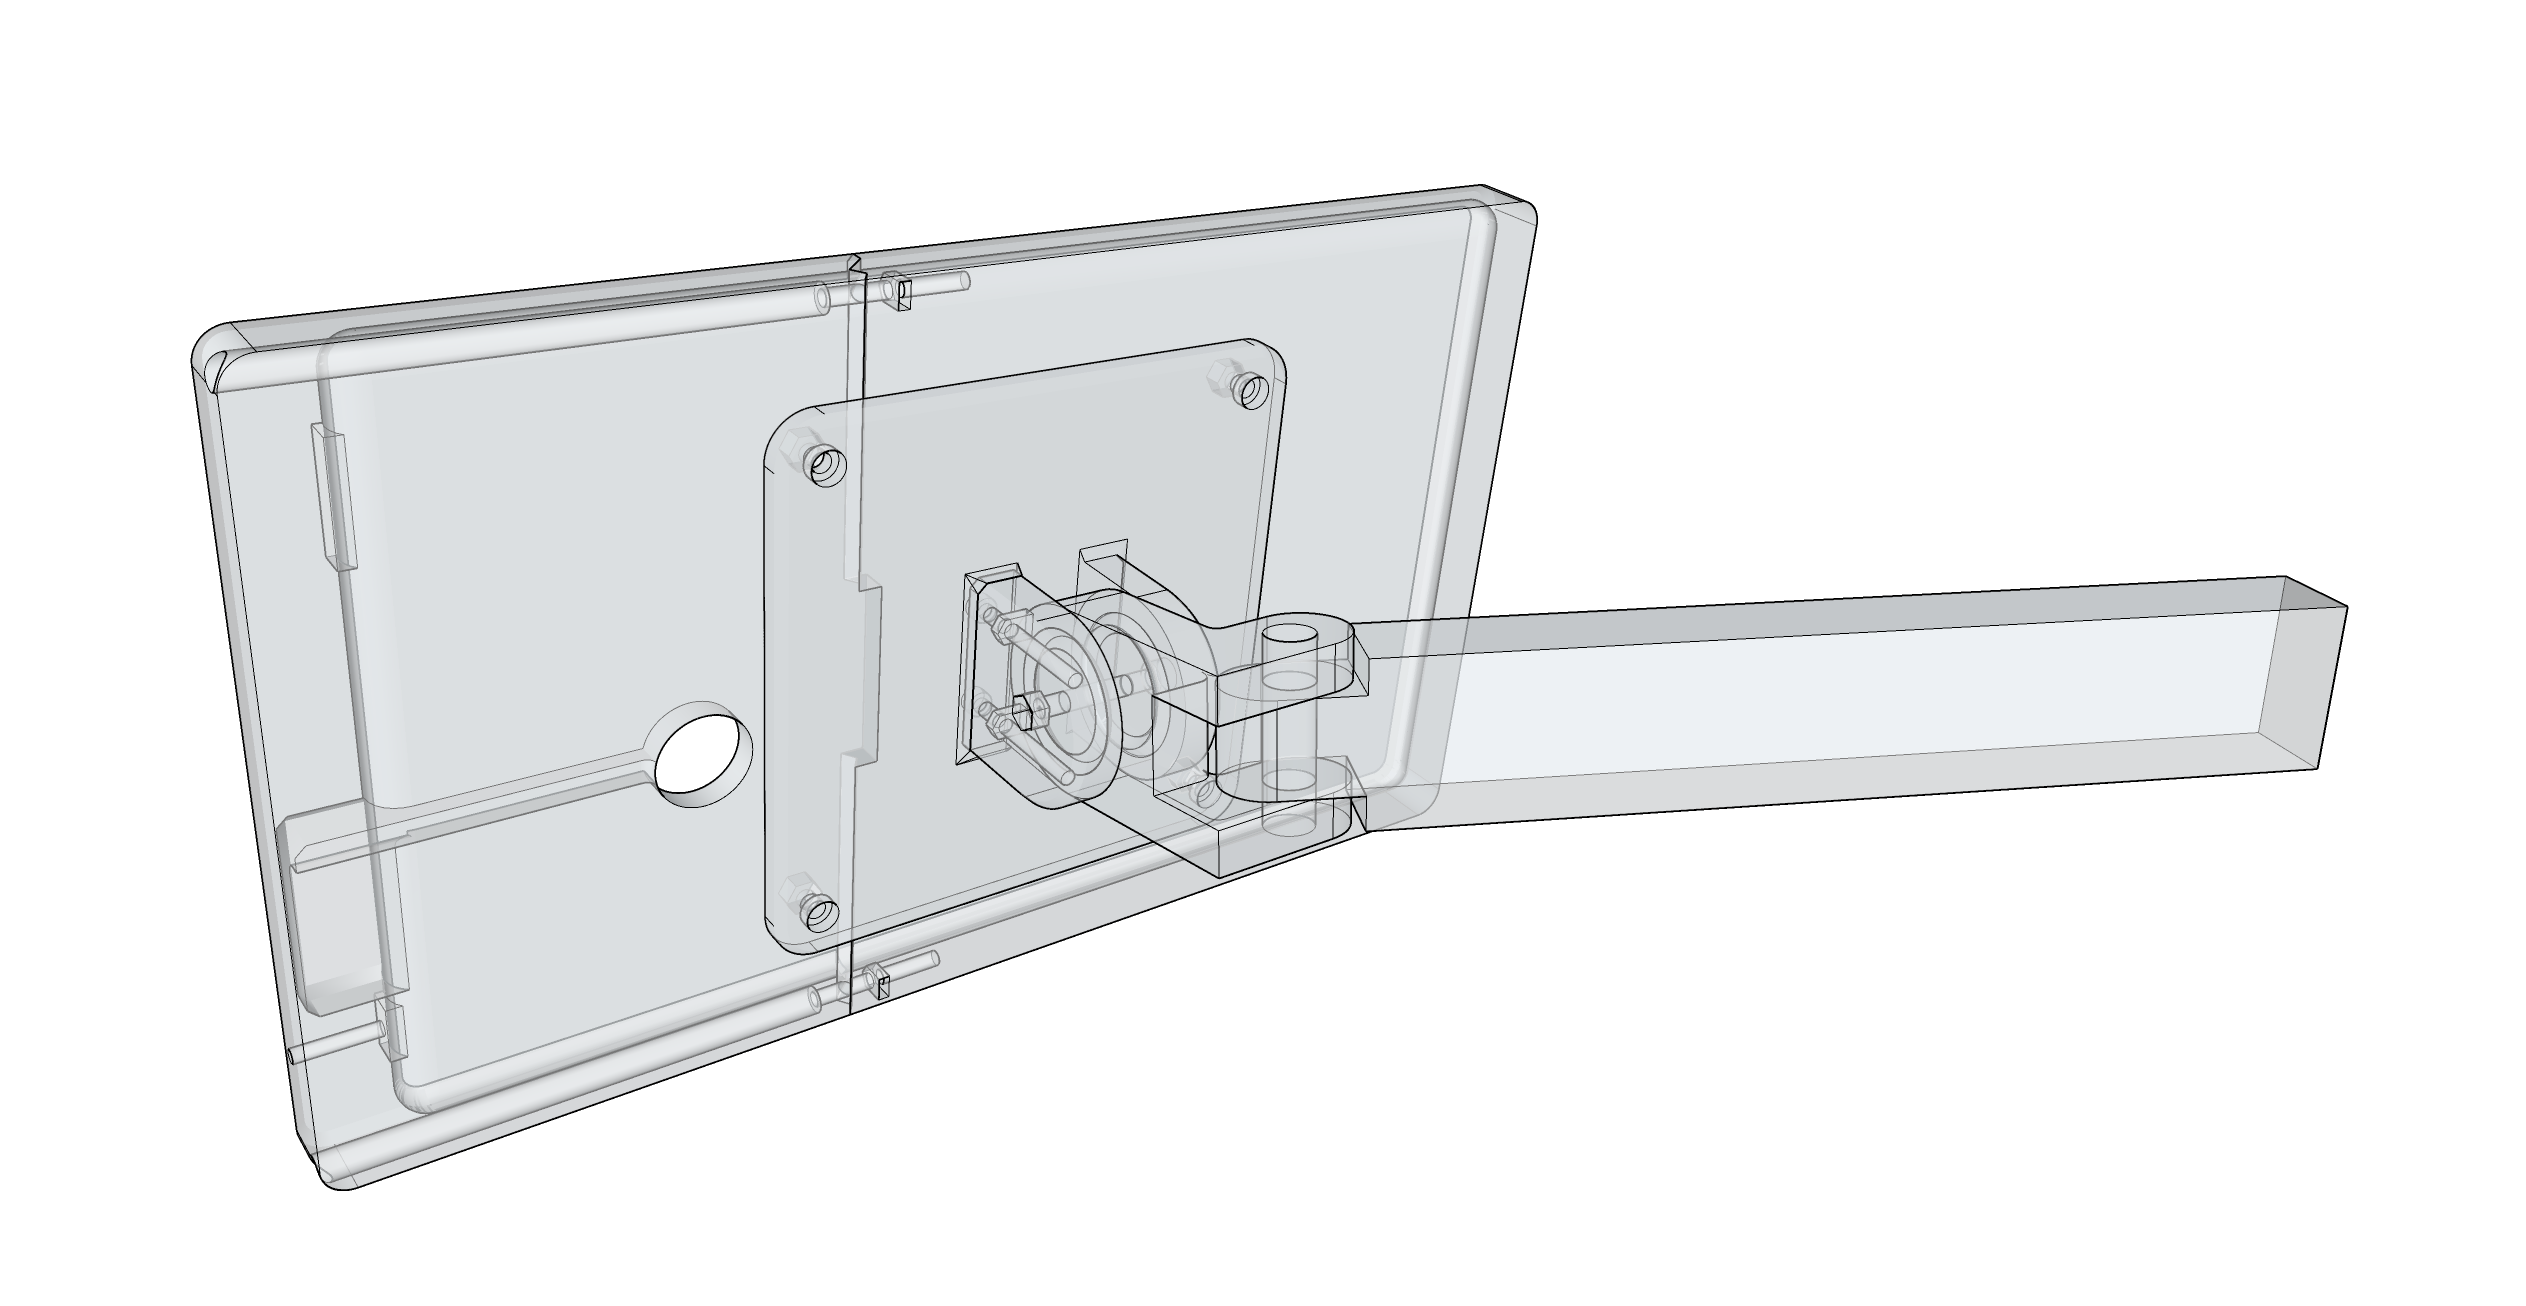
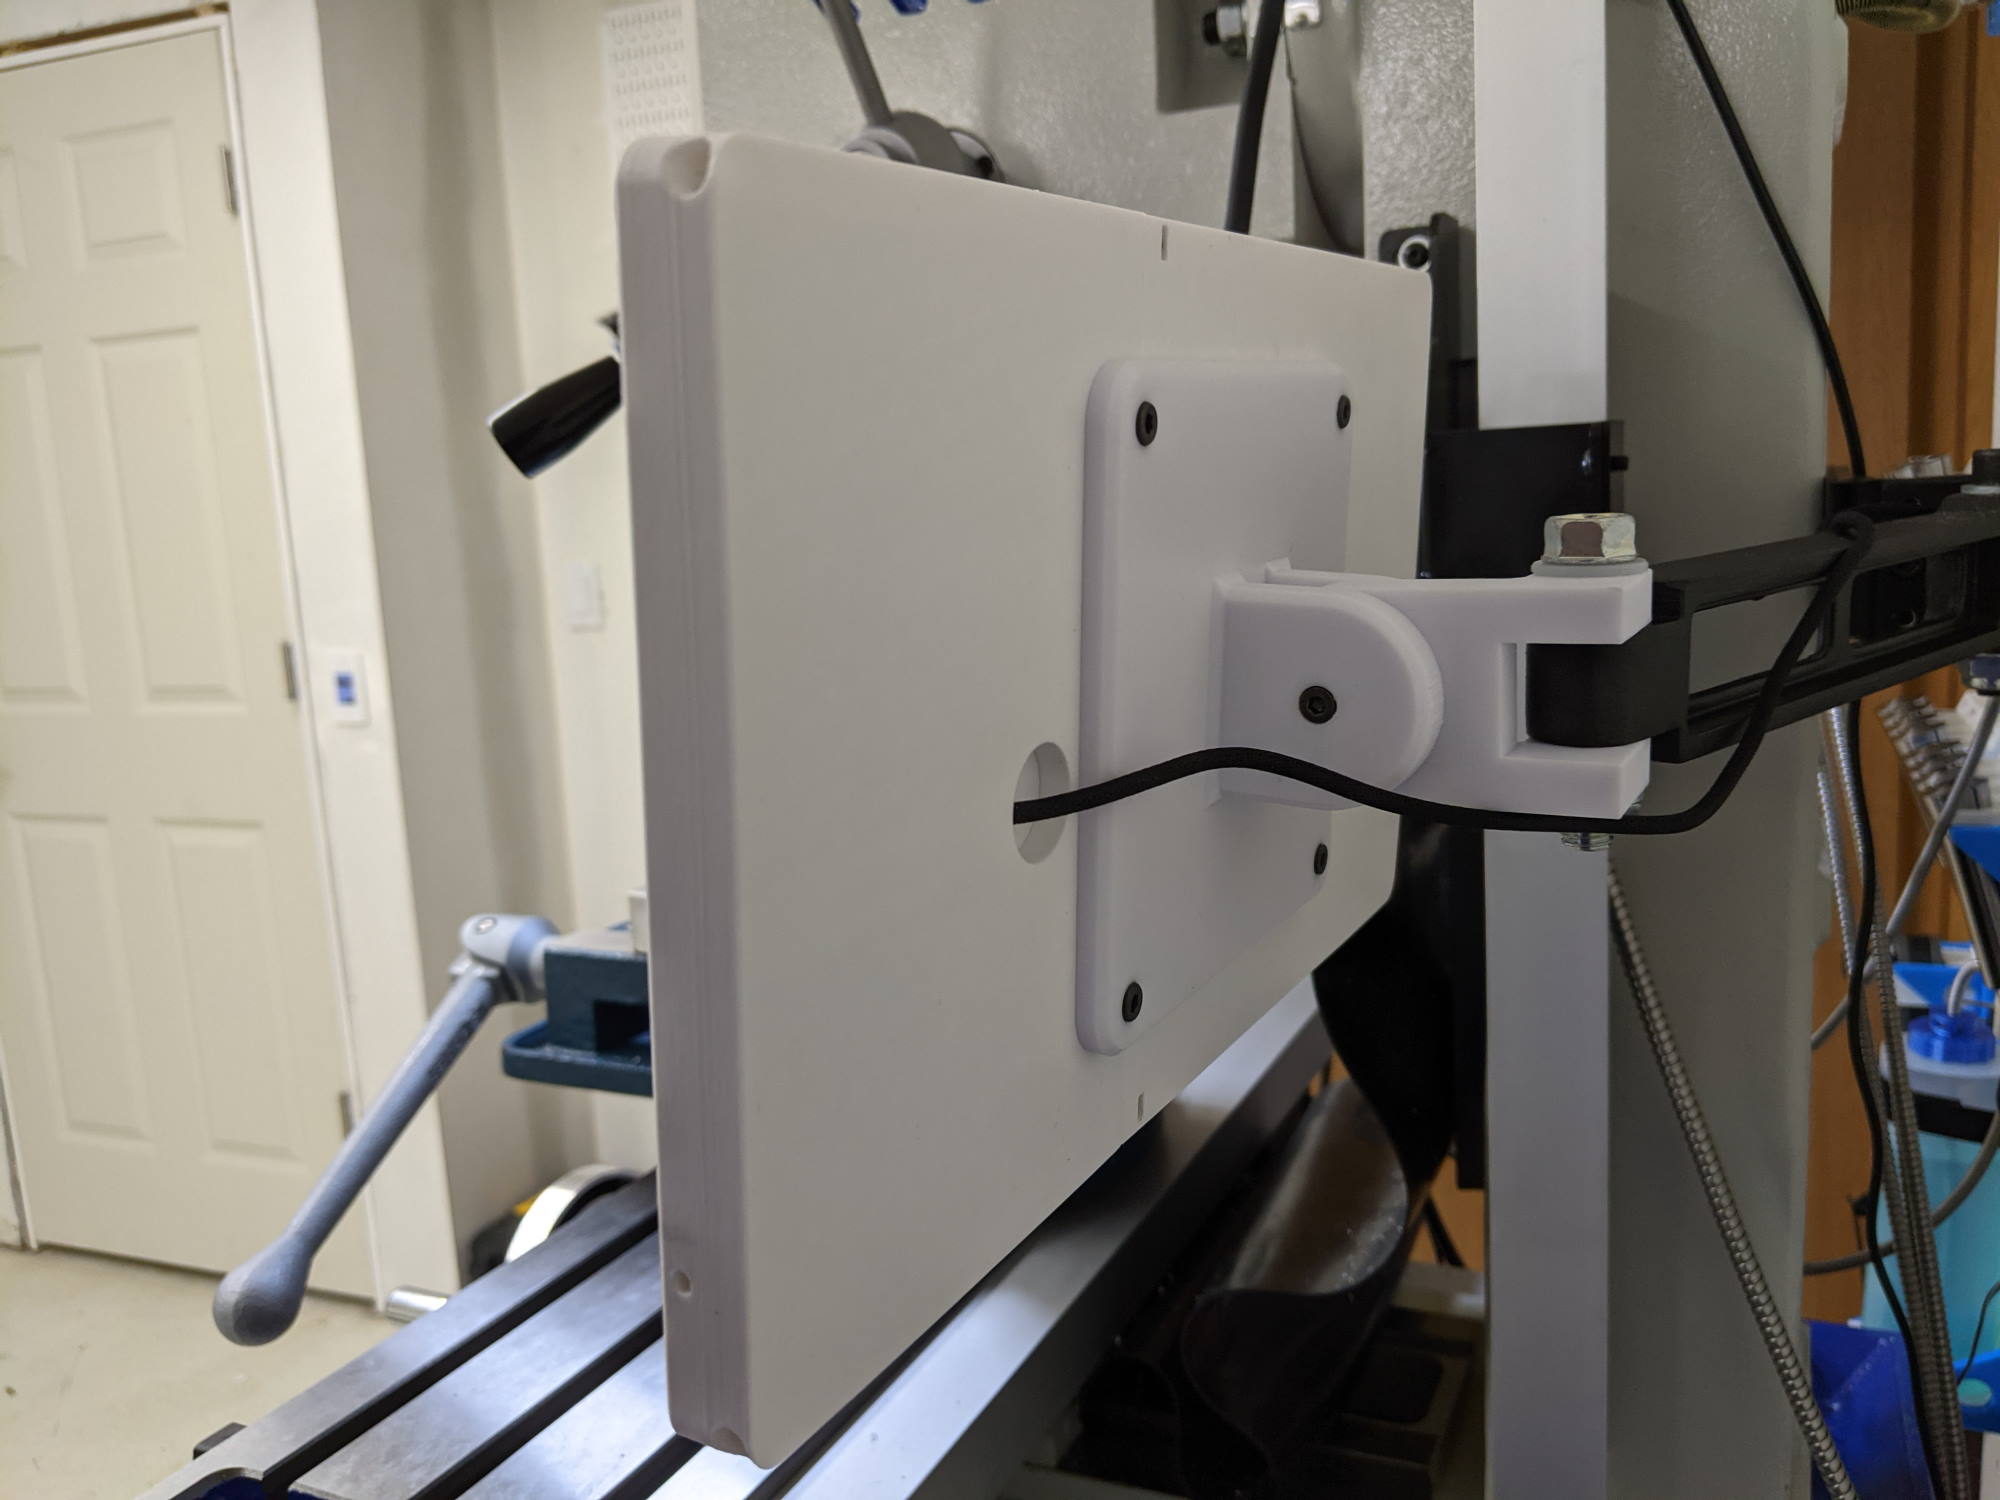
I have been working out some ideas to get a little better functionality out of my DRO scales through the awesome TouchDRO project. This required an Android device that I could mount near my mill, which means I needed a sturdy mount that could protect the tablet from an environment where oil and conductive metal chips would be flying around pretty regularly. As I already had a DRO mount, I created a VESA enclosure for the Amazon Fire HD 10 Tablet and then this VESA mount for the DRO arm. Together, they provide a rigid and secure solution for touchscreen DRO at my machine.


3D Models
- VESA mount for DRO bar - Bar side This part attaches to the DRO mount. You can modify this model to fit your own mount if needed, then use the rest of the project as-is.
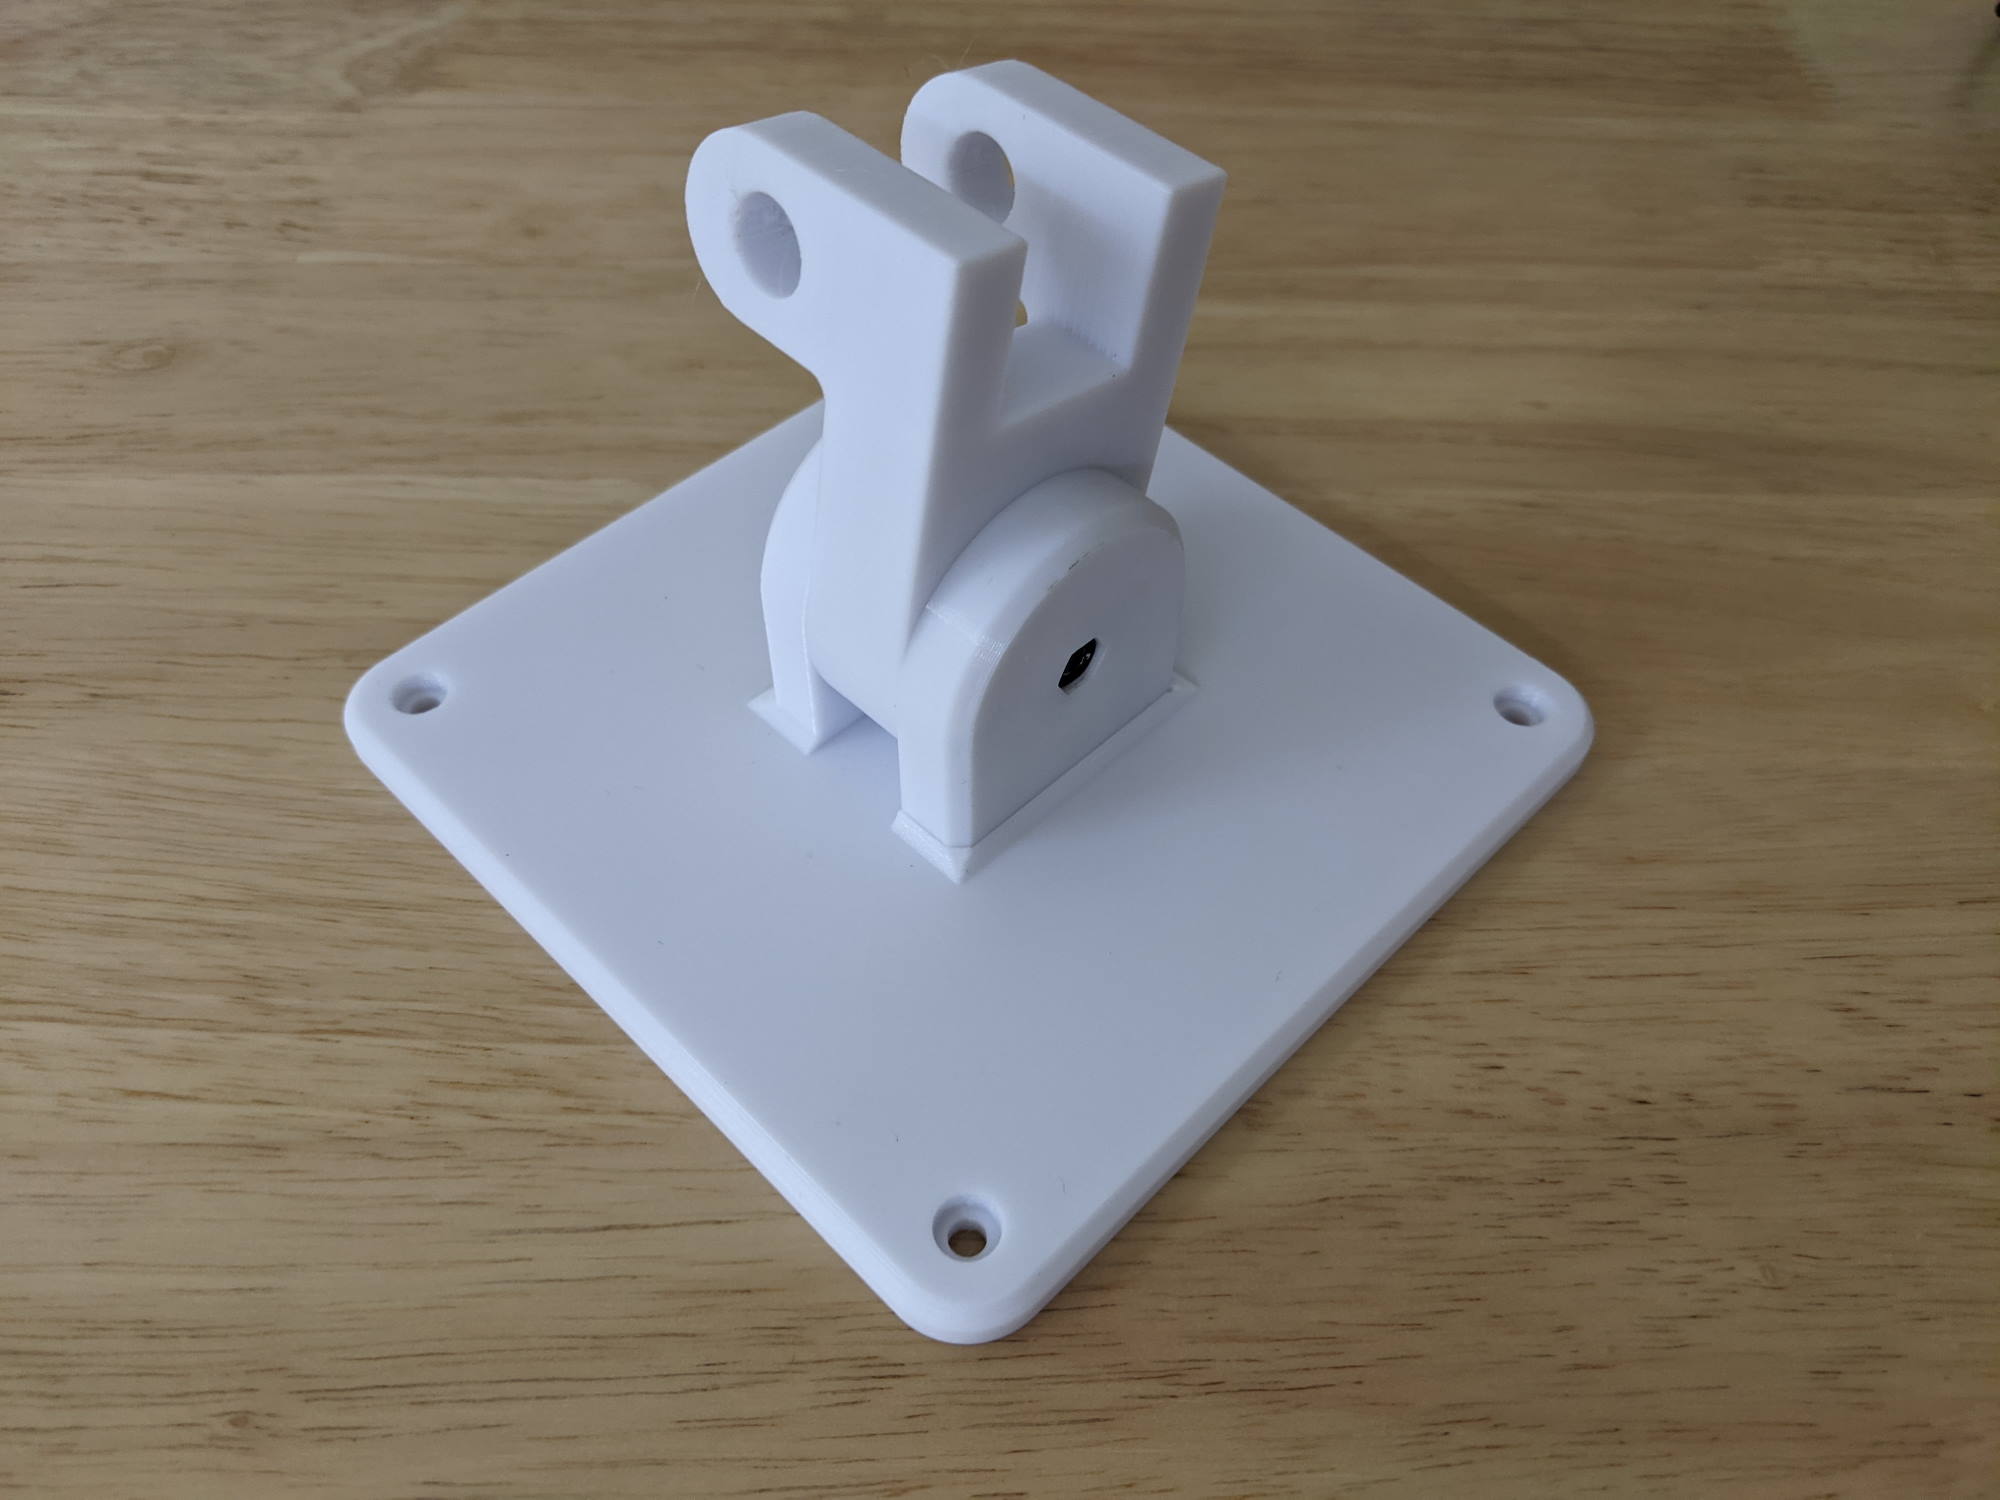
- VESA mount for DRO bar - VESA side main body 100mm x 100mm pattern VESA mount with one side of a pivot hinge
- VESA mount for DRO bar - VESA side pylon The other pivot hinge which fits into the VESA mount and is secured with 2x M3 bolts
BOM
To complete this assembly you will also need the following:
- 4x 8mm M4 socket-head screws
- 1x 30mm M4 socket-head screw
- 1x M4 nut
- 2x M3 nuts
- 2x M3 socket-head screws between 10-30mm in length
Assembly
- Print all three included models. I’ve used Overture PETG with .20mm layers to good effect. No supports should be required if your printer is dialed in.
- Press-fit the M4 nut into the VESA side pylon.
- Insert the 2x M3 nuts into the pockets on the side of the VESA side pylon.
- Set the Bar Side mount in place on the main body, then bring the pylon into place by setting it in at an angle on the main body and rotating it to vertical.
- Attach the pylon to the main body with M3 socket-head screws.
- Run the 30mm M4 screw through the assembled parts to allow the mount to pivot. Tighten this screw to adjust the friction of the tilt adjustment of this mount.
- Use the 4x 8mm M4 screws to secure this mount to your VESA device.
Notes
- If you’re using this with the Fire 10 HD Tablet VESA enclosure, be sure to use 8mm screws or you’ll run your screws into the tablet.
Comments