3D printable VESA mount for the Fire HD 10 Tablet
Fire HD 10 Tablet VESA Mount
This project provides a 100x100 VESA mount for an Amazon Fire HD 10 Tablet.
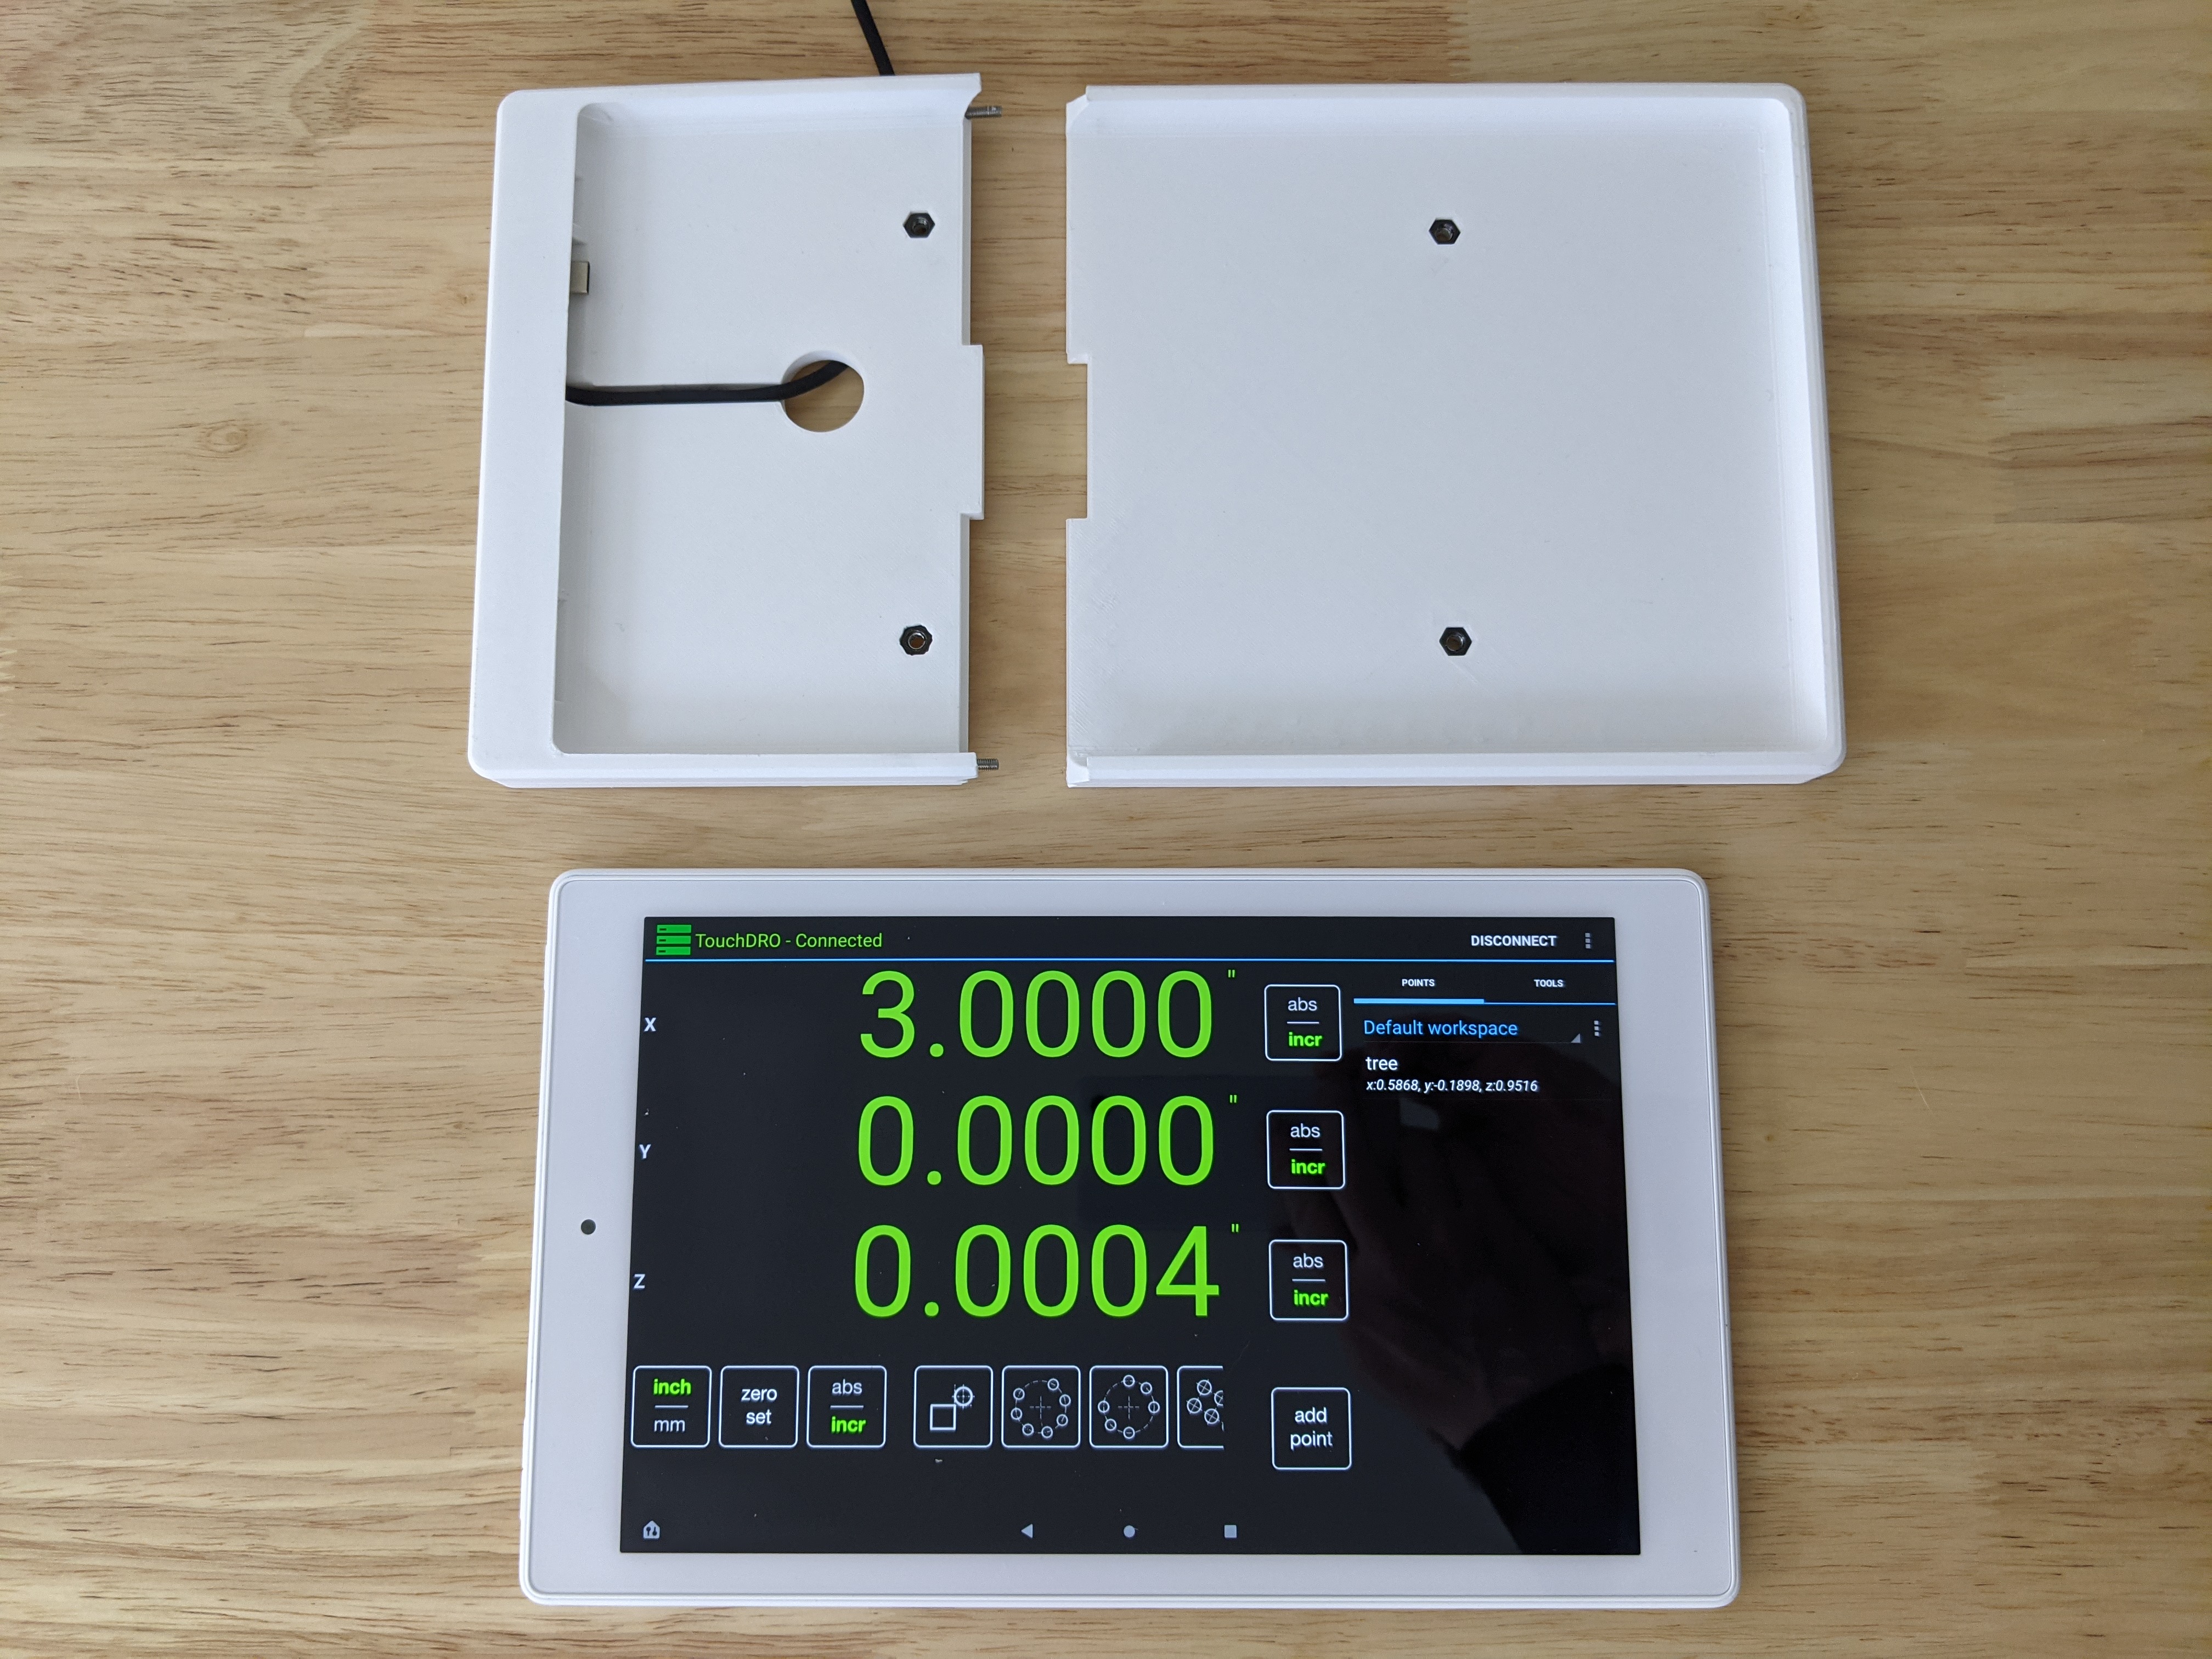
I have been working out some ideas to get a little better functionality out of my DRO scales through the awesome TouchDRO project. This required an Android device that I could mount near my mill, which means I needed a sturdy mount that could protect the tablet from an environment where oil and conductive metal chips would be flying around pretty regularly. The tablet itself is a little too big to fit on my printer so the model has been split into two pieces. This also allows the mount to fully enclose the tablet on all sides once assembled. The result is easy to print, attractive, and functional.
The Fire HD 10 Tablet VESA Mount can be used with any 100mm x 100mm pattern VESA mount. An accompanying project also includes a suitable VESA adapter for common DRO mounting arms.


3D Models
- Fire HD 10 Tablet VESA Mount left side Left side enclosure for the Fire HD 10 Tablet
- Fire HD 10 Tablet VESA Mount right side - external power Right side enclosure with external opening for USB C power connector on the side
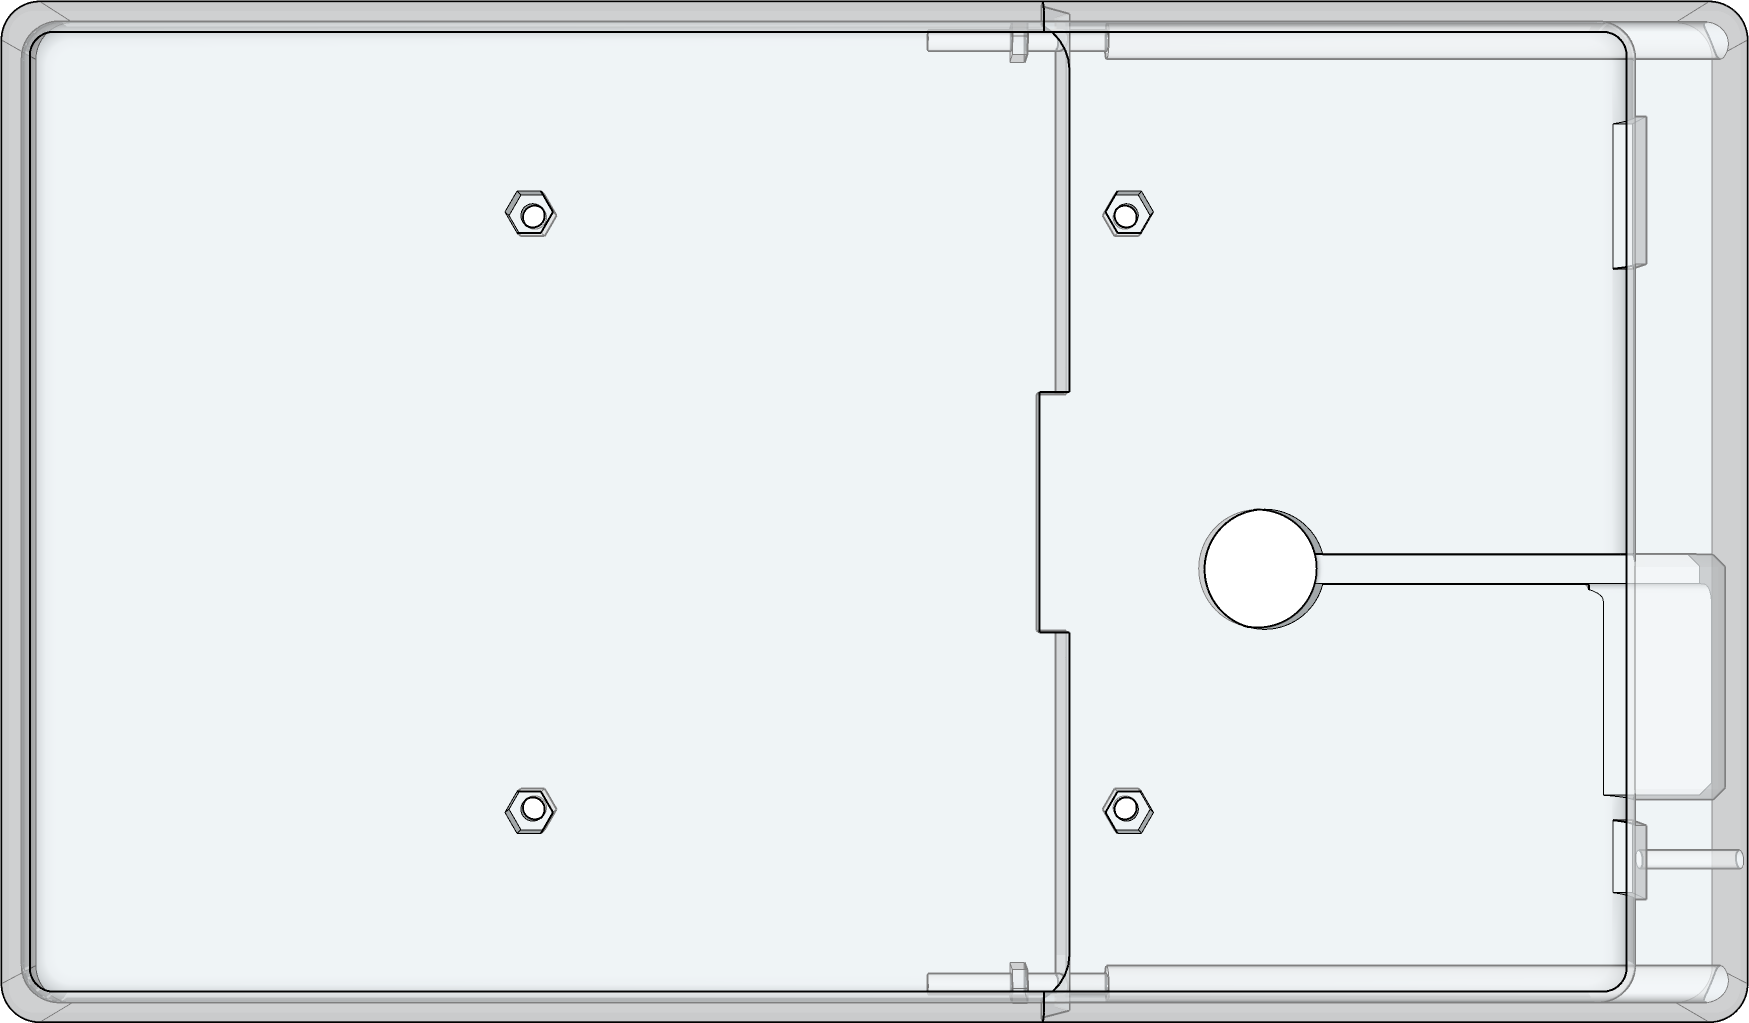
- Fire HD 10 Tablet VESA Mount right side - enclosed power Right side enclosure with enclosed USB C power to extend out of the rear to protect against foreign material ingress into the tablet and enclosure.
BOM
To complete this assembly you will also need the following:
- Amazon Fire HD 10 Tablet
- 2x M3 socket-head screws between 16-30mm in length
- 2x M3 nuts
- 4x M4 nuts
- 1x Right-angle USB C cable
Assembly
- Print the left side and one of the two right side models. I’ve used Overture PETG with .20mm layers to good effect. No supports should be required if your printer is dialed in.
- Press-fit the 4x M4 nuts into the two halves of the enclosure.
- Insert the 2x M3 nuts into the pockets on the back of the left side enclosure
- If using the enclosed model, attach the right-angle USB-C cable to the Fire HD 10 Tablet
- Slide the tablet into the left-side enclosure, then slide on the right side while guiding the USB cable into the cutouts provided.
- Insert M3 nuts into the holes in the right side then tighten them to pull the two halves together.
Notes
- Be careful when selecting M4 screws for attachment to your VESA mount. Anything longer than 6mm will run into the back of the tablet.
- A 3mm hole runs through the right side to the tablet’s power button. You can use a 2mm hex key or similar to access the power button through this hole if needed.
Comments